Wondering what actually happens during headlight restoration? We inspect the headlights first, protect the vehicle, work through the damaged outside surface in controlled stages, complete the agreed service, and explain aftercare before we leave.
Start with the cause
First, we figure out why the headlights look cloudy
Yellowing, chalky oxidation, peeling coating, pitting, sanding marks, and a failed DIY restoration can all look similar from a distance. We check what is on the outside, what previous work may be present, and whether the headlight has a problem restoration cannot fix.
Clear photos are useful for the first look, but the final plan follows the condition we can see at the vehicle.
Foggy outside or moisture inside?
Cloudiness on the outside surface may be restorable. Condensation or water inside usually points to a seal or internal problem, which exterior headlight restoration does not repair.
How the service works
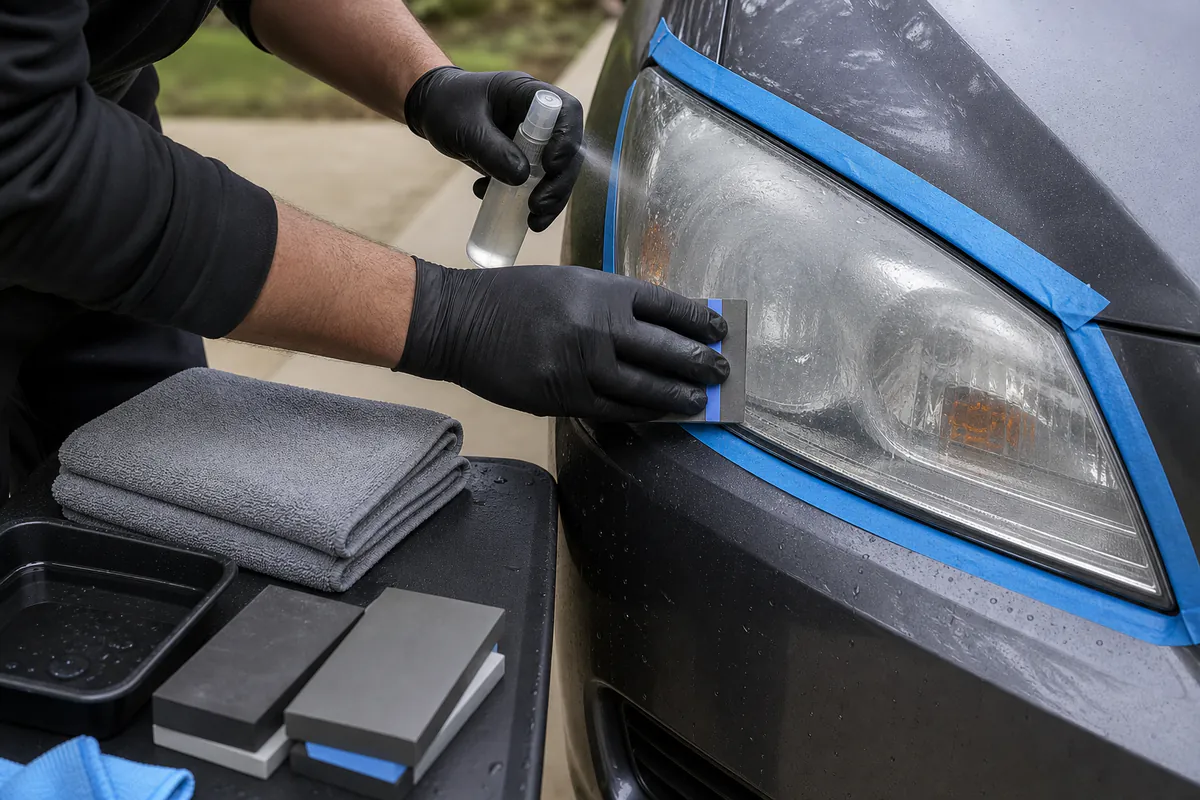
Headlight restoration, step by step
Every service starts with a cleaning solution, followed by staged wet-sanding with 600, 1000, 2000, 3000, and 4000 grit to create a smooth, even surface.
Look closely at both headlights
We check the cloudy, yellow, peeling, scratched, or pitted areas and look for cracks, delamination, internal moisture, and previous restoration work.
Clean and protect the surrounding areas
Each headlight is cleaned with a prep solution, and nearby paint and trim are protected before wet-sanding begins.
Wet-sand the headlights in stages
We work through 600, 1000, 2000, 3000, and 4000 grit to remove failed material and leave a smooth, even surface.
Complete the selected finish
Vapor Restoration uses vapor refinishing as the final step. Ceramic Protection is completed with buffing and polishing, followed by the ceramic coating.
Check the finish and explain aftercare
We inspect the work, review any condition that remains, and explain the relevant curing, washing, chemical, sun, and maintenance considerations.
Peeling coating or a failed DIY job
Old clear coat, leftover product, uneven sanding, or deeper scratches can add preparation and may limit what can be improved.
Pitting and deeper damage
Surface weathering can often be refined, but deep pitting, cracks, delamination, and internal damage may remain or require replacement.
A suitable mobile work area
Service is completed at a confirmed home or workplace with safe, legal access and enough room around the front of the vehicle.
What this process can and cannot fix
Good candidates for restoration
Cloudy, yellow, hazy, oxidized, chalky, or peeling damage on the outside of a functioning headlight may be suitable after inspection.
Problems that need another repair
Cracks, broken tabs, failed seals, internal condensation, damaged reflectors, bulbs, wiring, and structural headlight problems are outside this service.
See what professional headlight restoration addresses or compare current pricing and quote factors.
Questions people ask about the process
Do you wet-sand the headlights?
Yes. After cleaning, we wet-sand in stages with 600, 1000, 2000, 3000, and 4000 grit before completing the selected finish.
Can you redo a failed DIY headlight restoration?
Usually, yes. We check peeling clear coat, uneven sanding, leftover product, deeper sanding marks, cracks, and moisture before confirming what another restoration can improve.
Why can a headlight still look hazy after sanding?
Sanding has to be followed by the proper refinement and finishing steps. Remaining haze or sanding marks can mean the surface is incomplete, uneven, or affected by deeper damage.
How long will restored headlights stay clear?
Our no-fading protection warranty lasts 18 to 36 months, depending on the finish selected. If the headlights fade during the covered period, we will restore them again at no charge.
Start with clear photos of both headlights
Send the year, make, model, city, ZIP, a front view, and close-ups of the cloudy, yellow, peeling, or damaged areas. We will confirm the next step before scheduling.